Using Impulse in Shopify POS
What this guide covers
This guide walks through the in-store Impulse experience in the same order shown in the walkthrough: finding the Impulse tile on the Shopify POS home screen, opening the product list, reviewing a product, and adding it to the cart. It also explains how to prepare the upsells that appear in POS.
What the Impulse tile does in POS
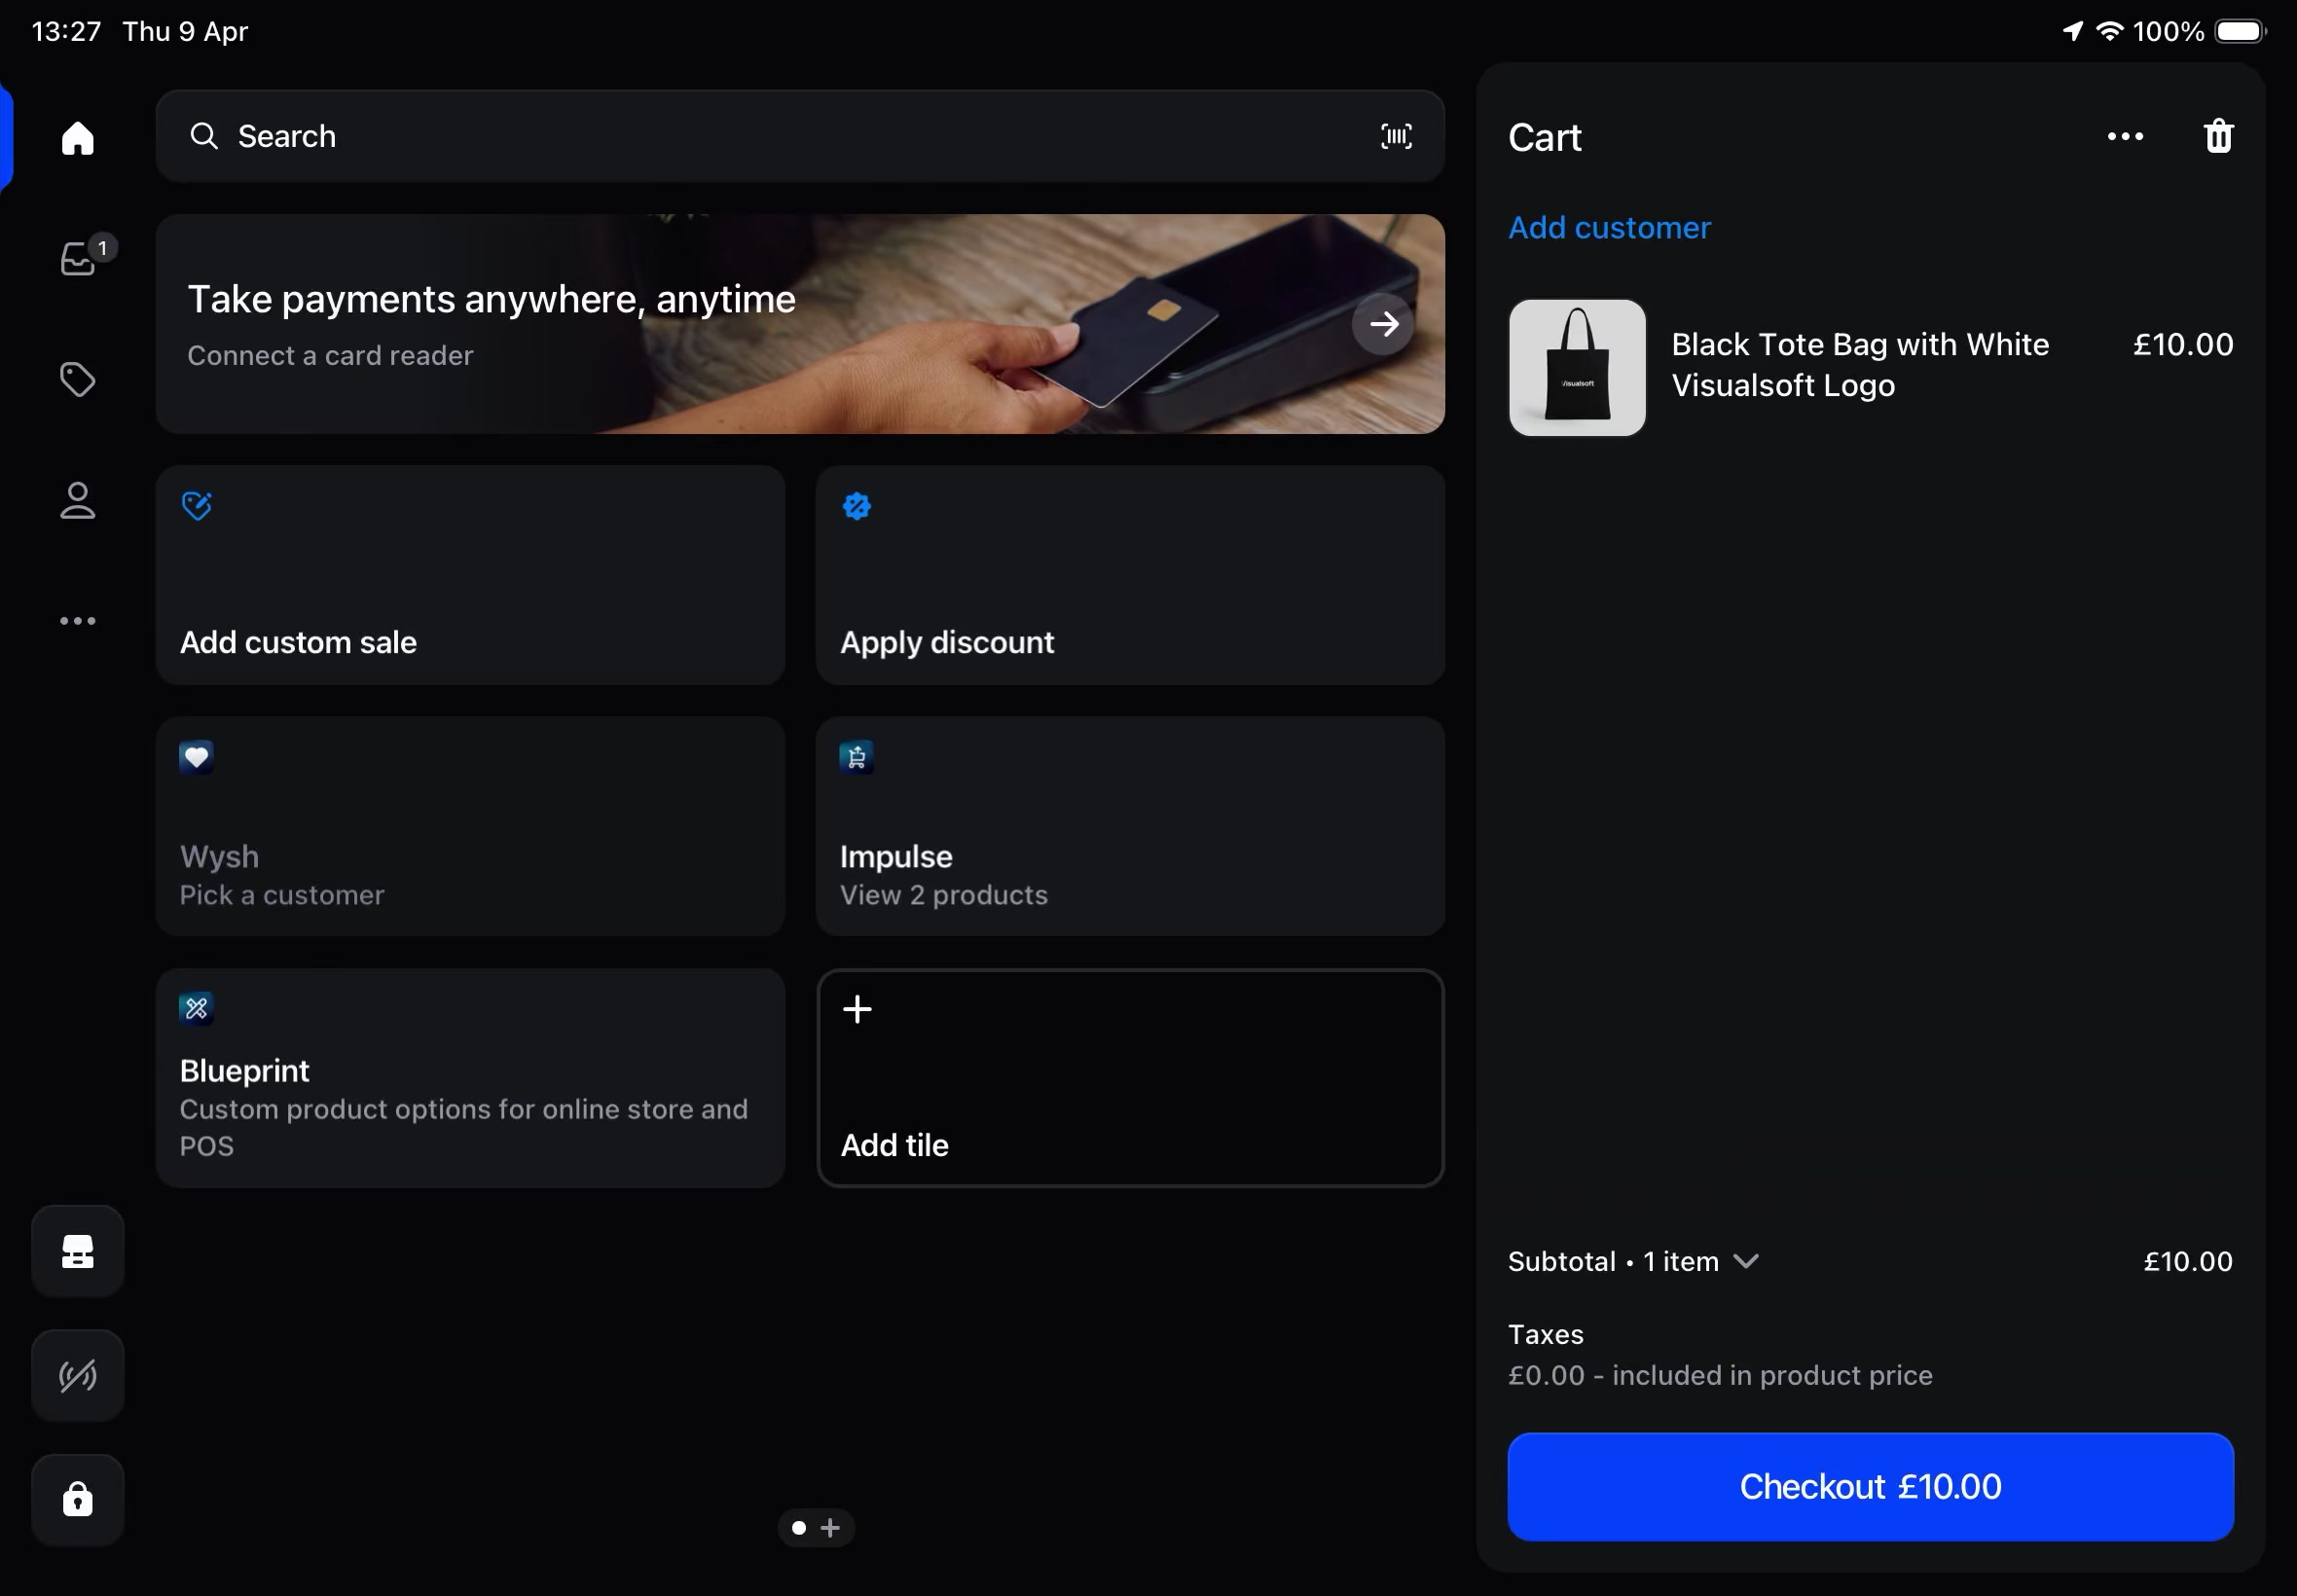
On the Shopify POS home screen, Impulse appears as its own tile labeled Impulse. The tile gives staff a quick way to open a curated list of upsell products without leaving the cart flow.
In the walkthrough, the tile shows a subtitle such as View 2 products. This tells staff how many upsell products are currently available from Impulse for that POS session.
How the tile behaves
- Tapping Impulse opens an Impulse modal over the POS screen.
- The tile does not replace the cart. It works alongside the existing Shopify POS cart on the right side of the screen.
- The tile acts as a product picker for available upsells.
- If Impulse has more than one available product, staff can browse the list and choose the best recommendation for the customer.
Using Impulse in POS
From the Shopify POS home screen, tap the Impulse tile.
This opens the Impulse overlay, where available upsell products are listed.
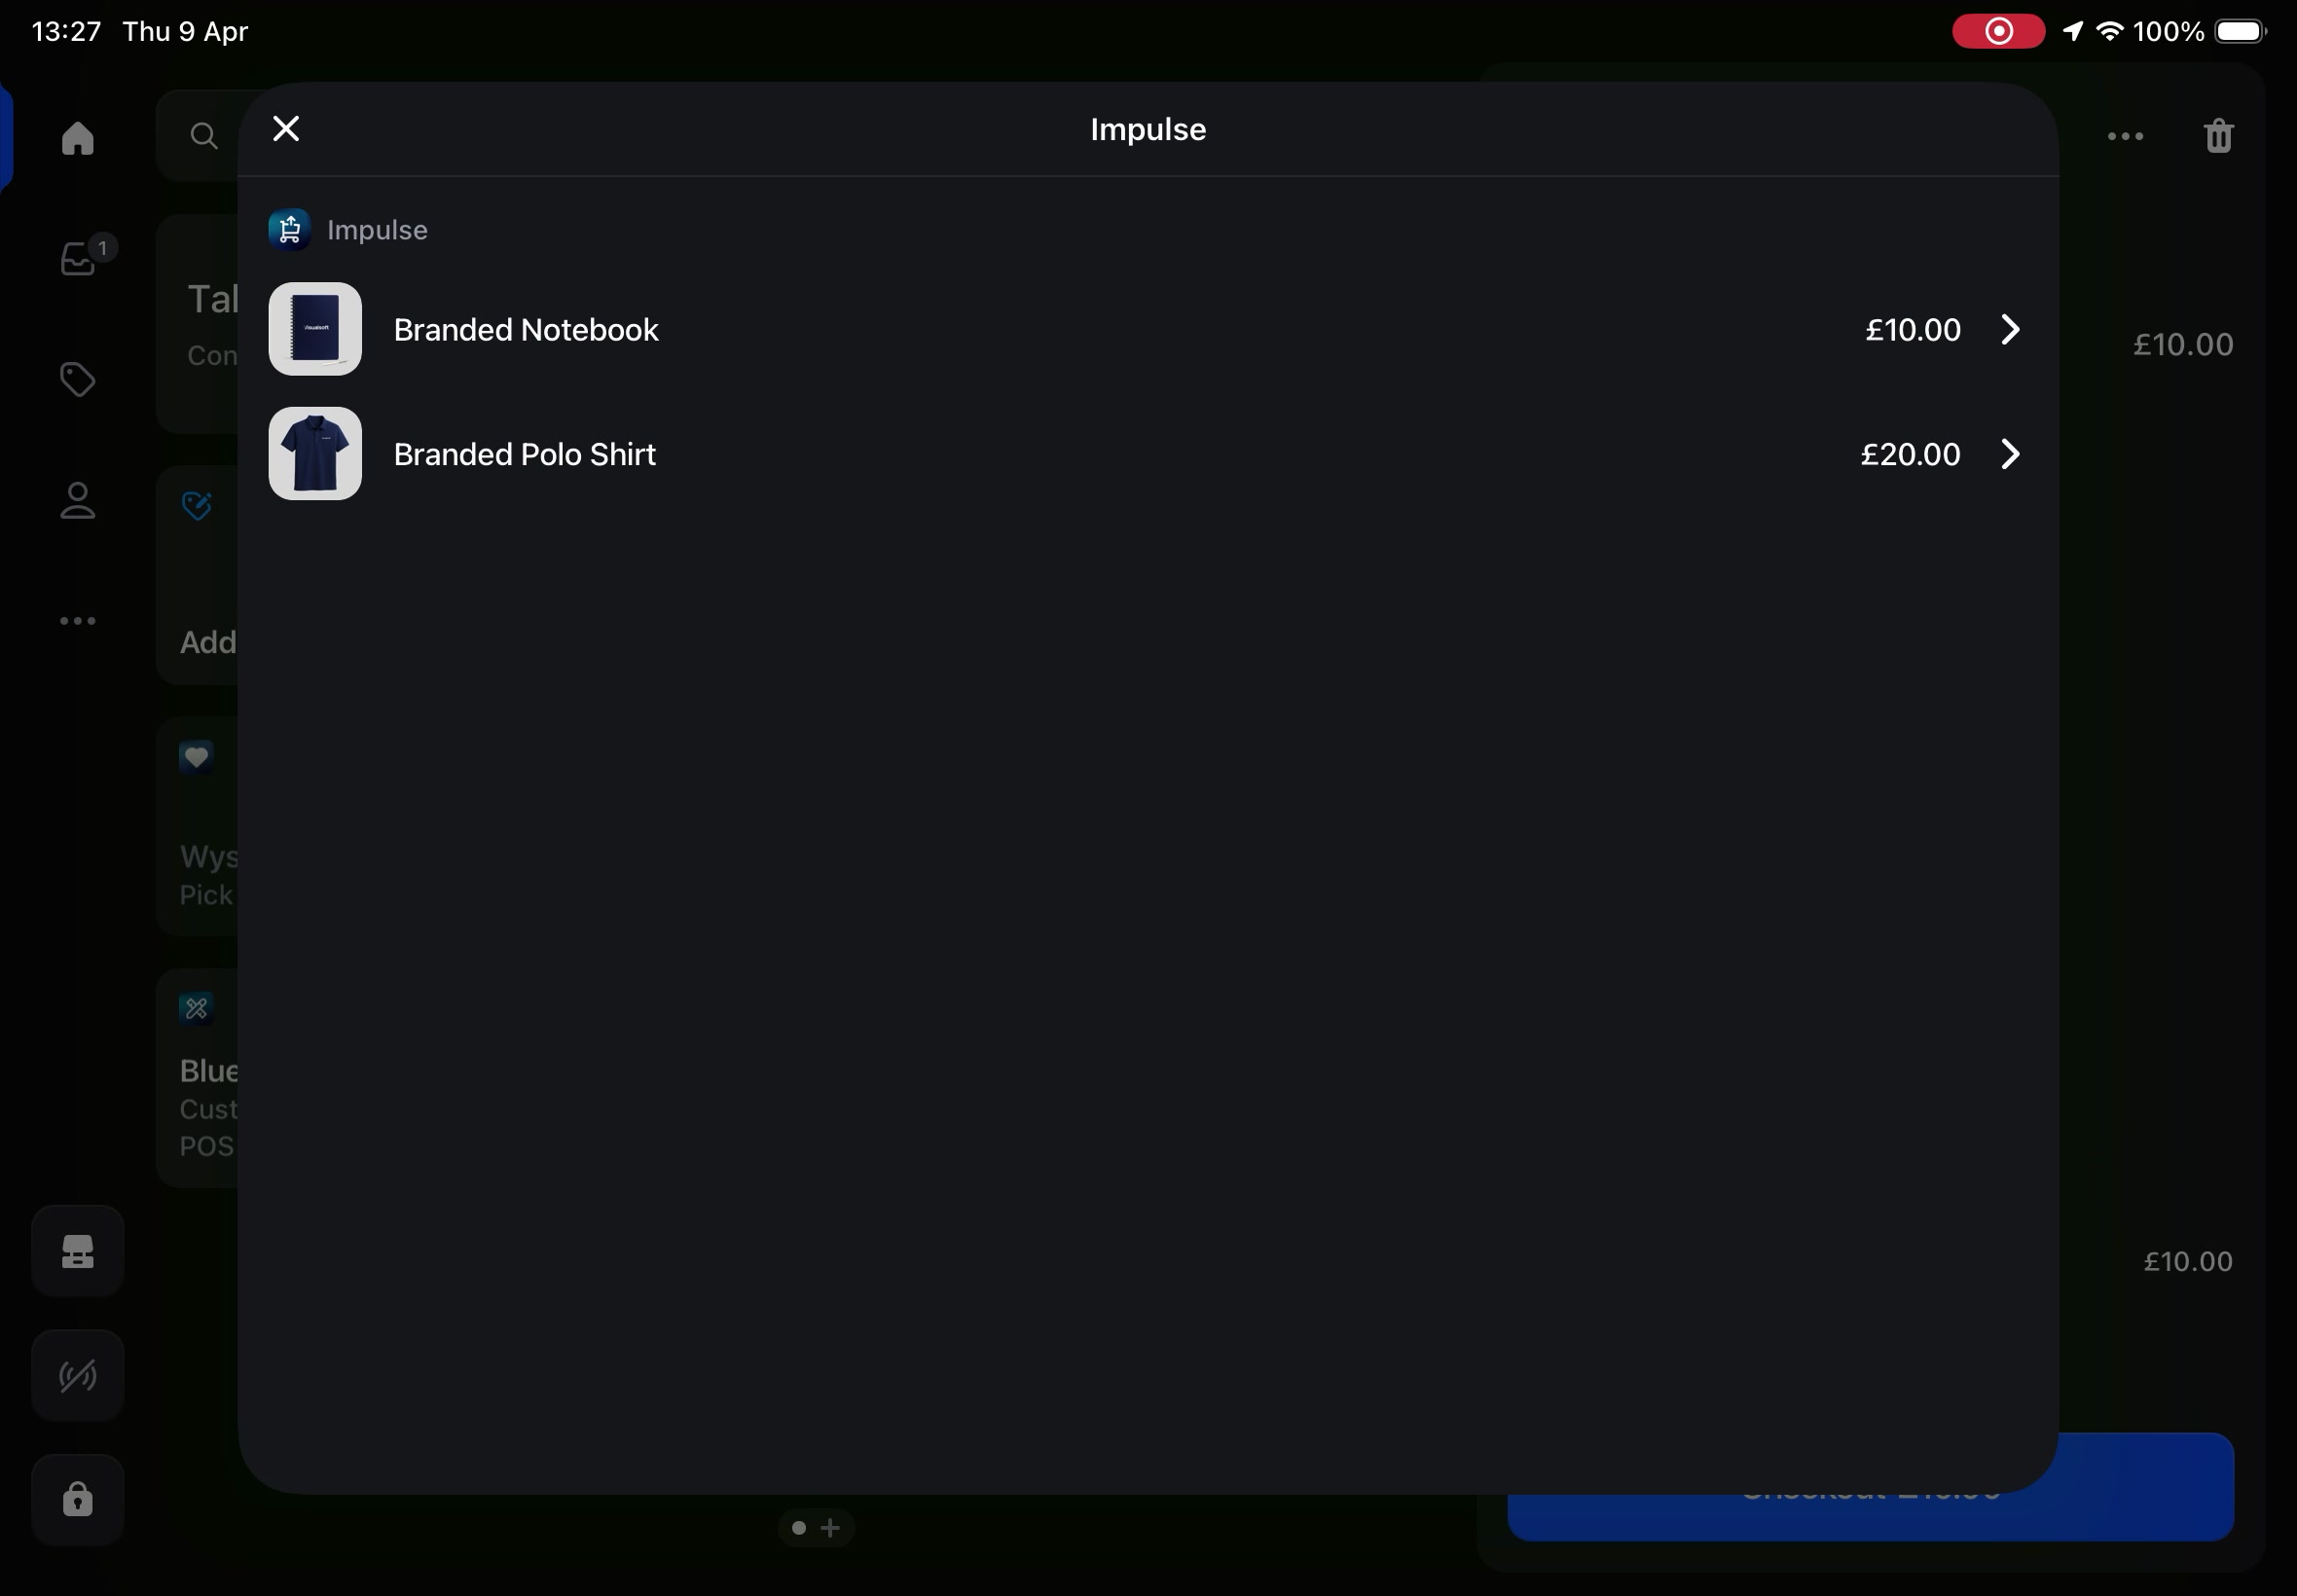
In the Impulse modal, staff see a product list with:
- product image
- product name
- price
- a right arrow to open product details
In the walkthrough, the list includes products such as Branded Notebook and Branded Polo Shirt.
Tap the arrow beside a product to open its detail view.
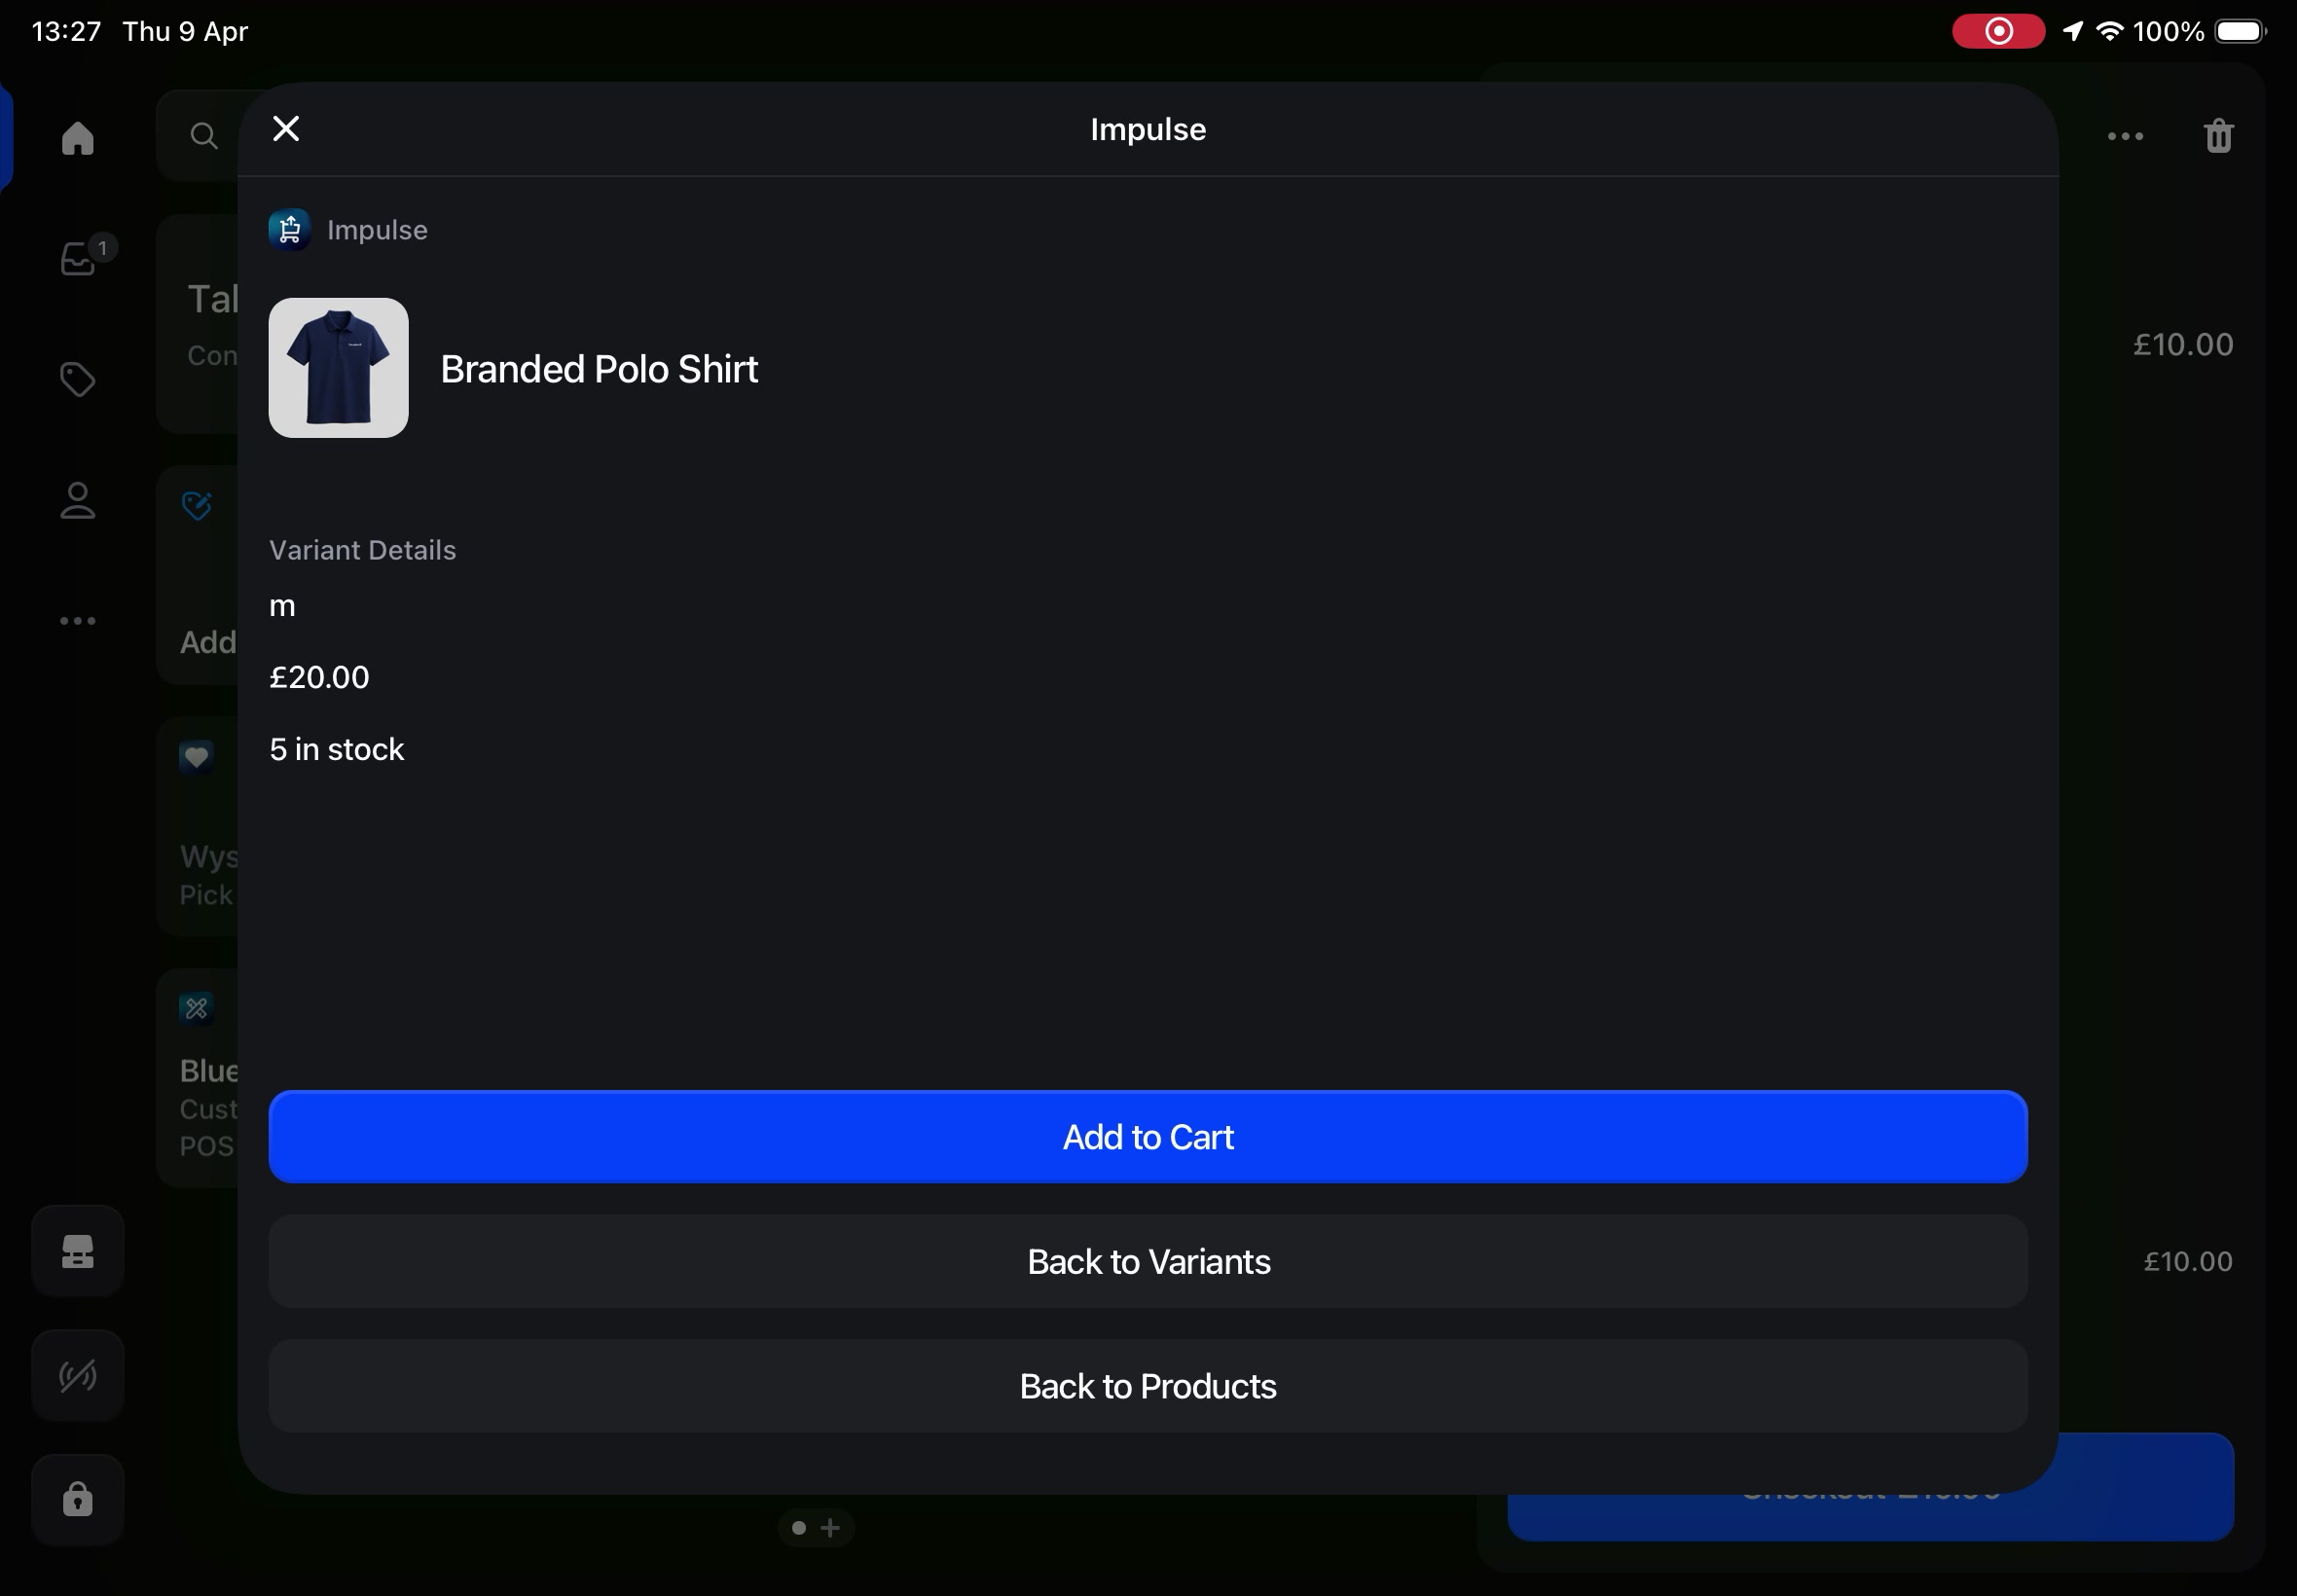
The detail screen shows the product name and the key information staff need before offering it to the customer, including:
- Variant Details
- price
- stock count, such as 5 in stock
This makes it easy to confirm the exact item is available before adding it.
When the customer wants the item, tap Add to Cart.
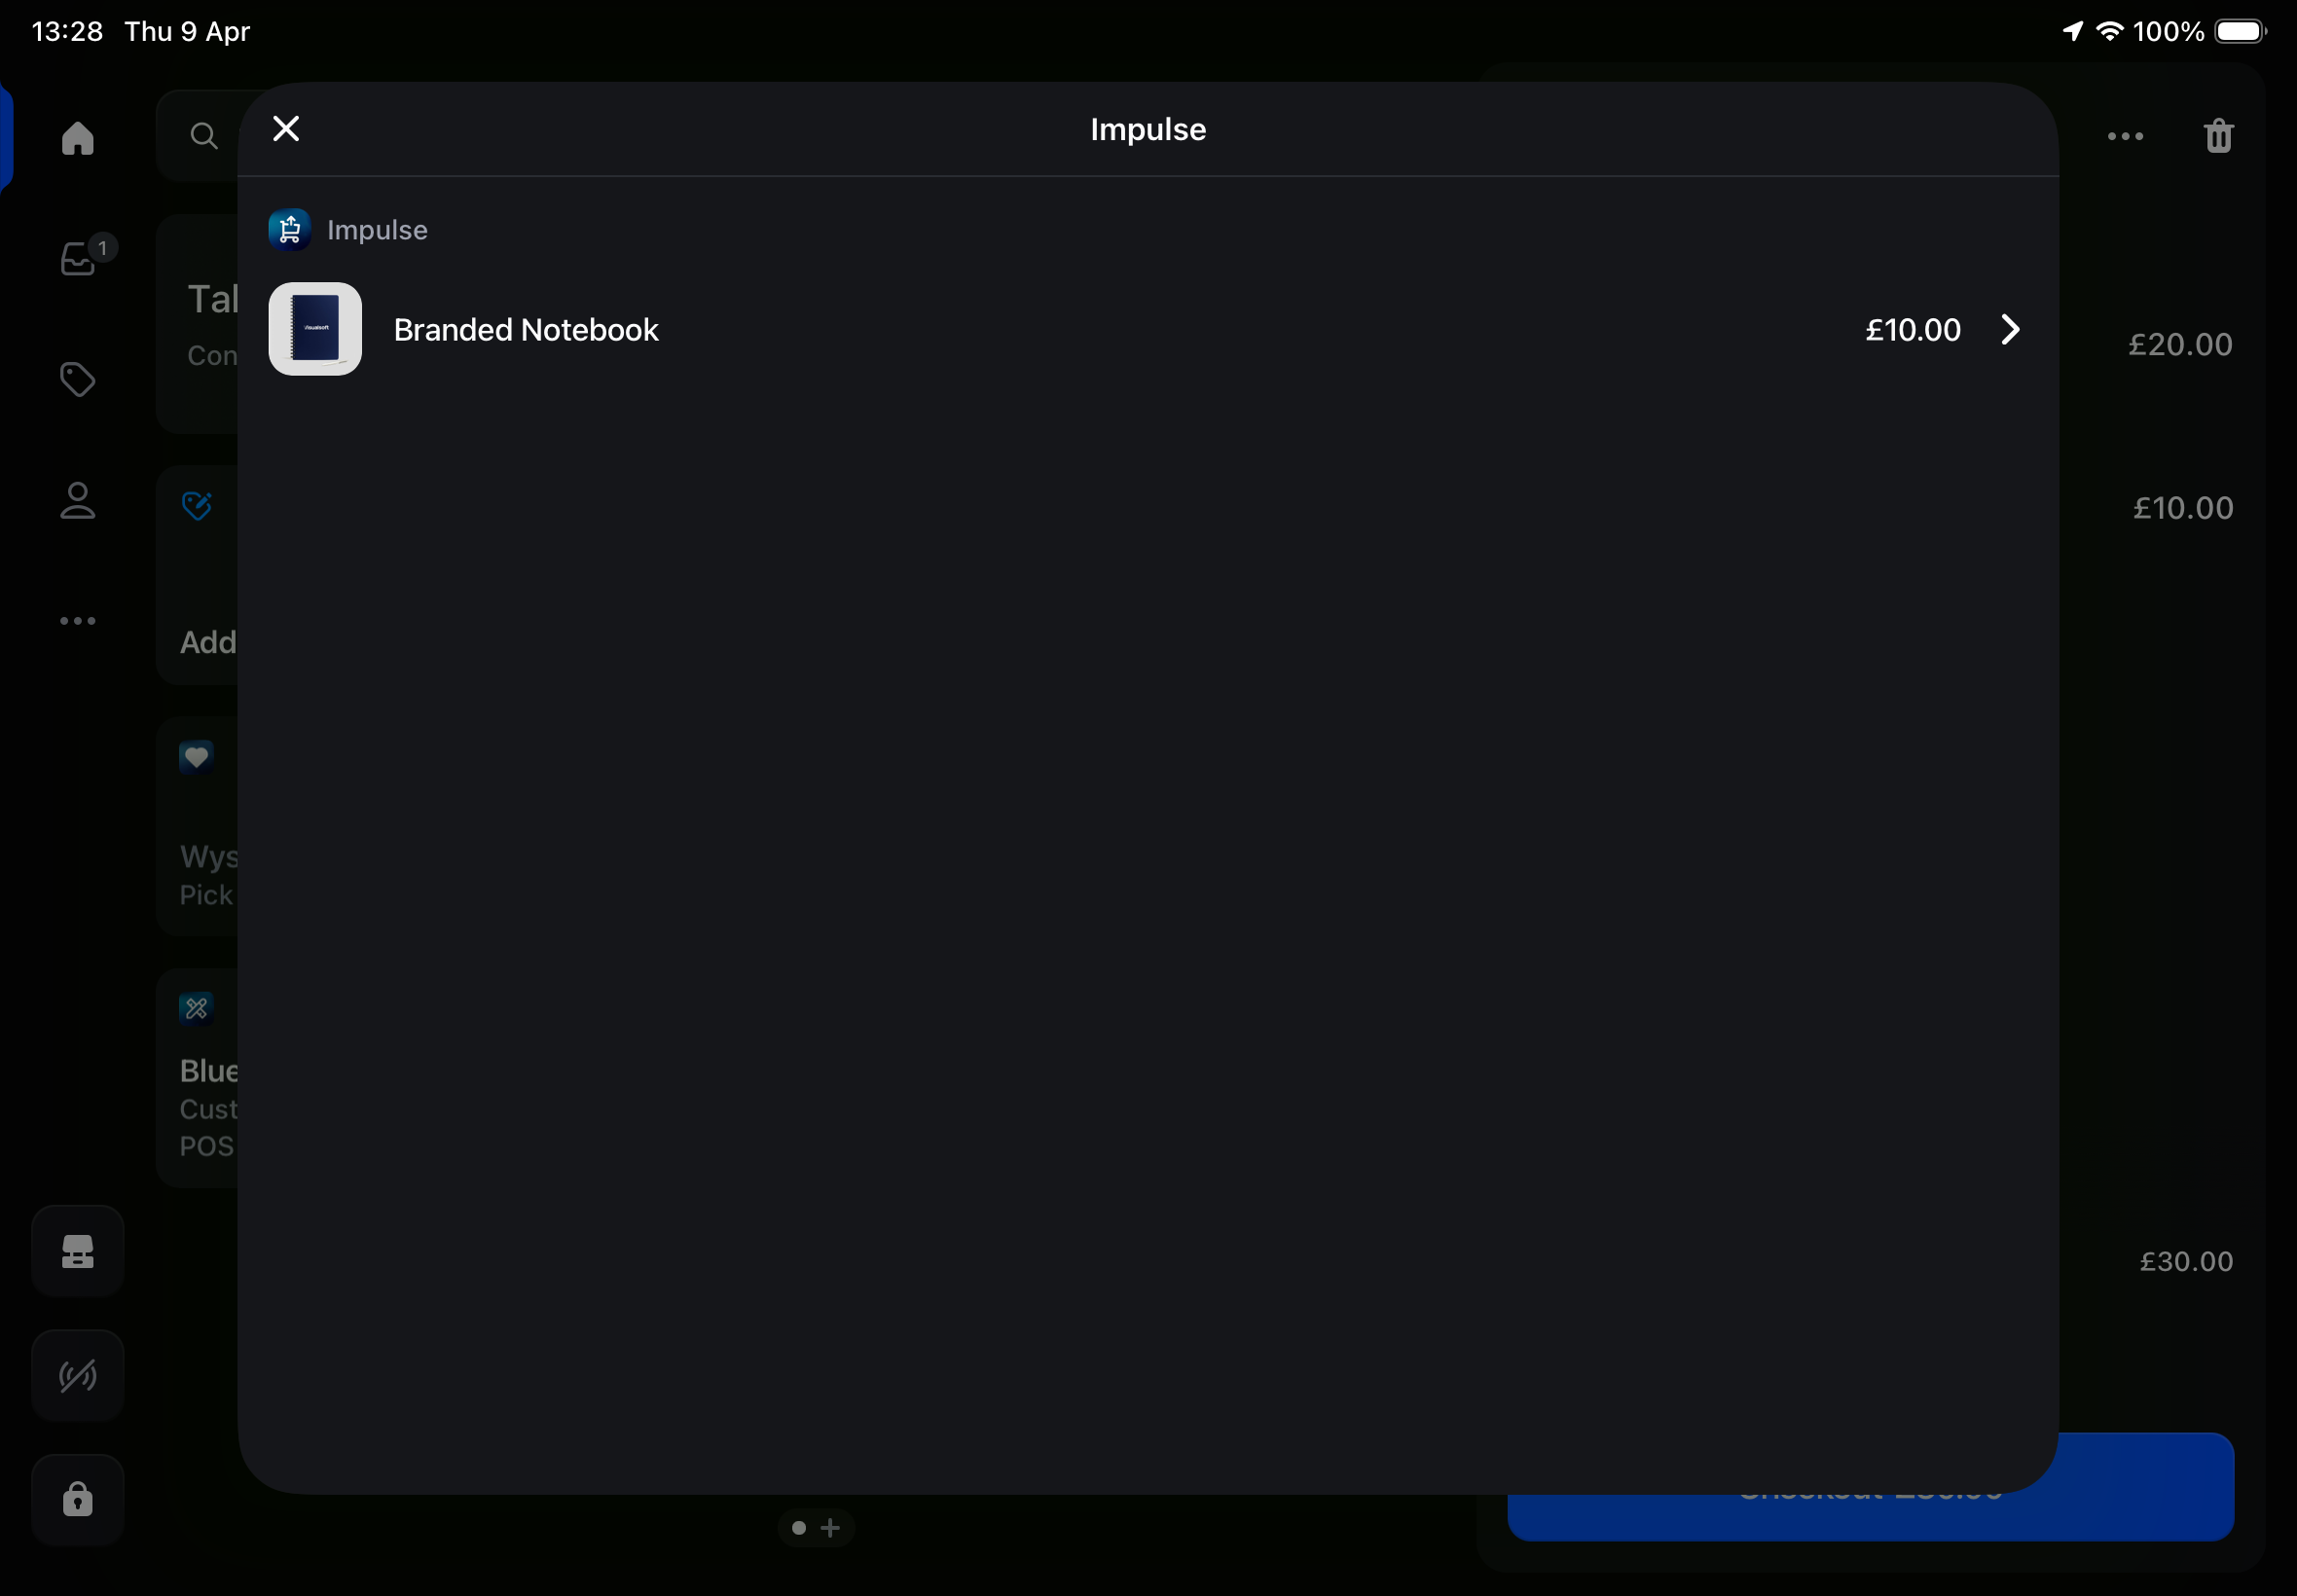
The selected upsell product is then added to the Shopify POS cart.
If staff want to choose a different option, they can use:
- Back to Variants to return to the variant selection level
- Back to Products to return to the main Impulse product list
This helps staff compare options before adding anything to the cart.
What staff can do from the Impulse POS flow
From the POS experience shown in the walkthrough, staff can:
- open the Impulse tile from the Shopify POS home screen
- see how many upsell products are currently available
- browse available upsell products in a simple list
- review product images, names, and prices
- open a product to check Variant Details and stock availability
- tap Add to Cart to add the upsell directly to the current order
- move back through the flow using Back to Variants and Back to Products
How to add upselling products to Impulse
The products shown in POS come from the upsell setup you create in the Impulse app. To control what appears in the tile, create or update an upsell rule in Impulse first.
In Impulse, go to Create Upsell Rule.
In Upselling Details, enter a name in the Name field.
In the Status panel, set the rule to Active when it is ready to use.
In Upselling Location, choose the correct Sales Channel:
- POS & Online Cart if you want the same rule to work in both places
- POS Only if the upsell should appear only in-store
If you choose Online Only, that rule is for online placement and is not the right choice for a POS-only workflow.
Under Applicable Stores, choose:
- All Stores to use the rule everywhere it applies
- Specific Stores to limit the rule to selected locations
This is useful when certain upsells should appear only in certain retail locations.
In Trigger (Optional), click Browse Products and choose the products that should cause the upsell to become eligible.
For example, if a customer is buying a main item, you can trigger a matching accessory offer.
In Upsell Products, click Browse Products and select the products you want staff to be able to offer through Impulse.
These are the products that can appear in the POS Impulse list.
After saving the rule, open Shopify POS and tap the Impulse tile to confirm the expected products appear.
Best practices for POS upsells
- Choose upsell products that are easy to explain quickly at the counter.
- Use POS Only for in-store offers that do not make sense online.
- Use Specific Stores when stock, promotions, or merchandising vary by location.
- Check stock in the product detail view before recommending an item.
- Keep the customer conversation simple by offering related products, accessories, or add-ons with clear value.
Why products may not appear in the tile
If the Impulse tile does not show the products you expect, review the rule setup in the app:
- make sure the rule is Active
- make sure the Sales Channel is set to POS Only or POS & Online Cart
- make sure the rule applies to the correct store under Applicable Stores
- make sure you added products under Upsell Products
- if you use Trigger (Optional), make sure the cart matches the trigger conditions